
DIY Wall Mounted Bookshelves
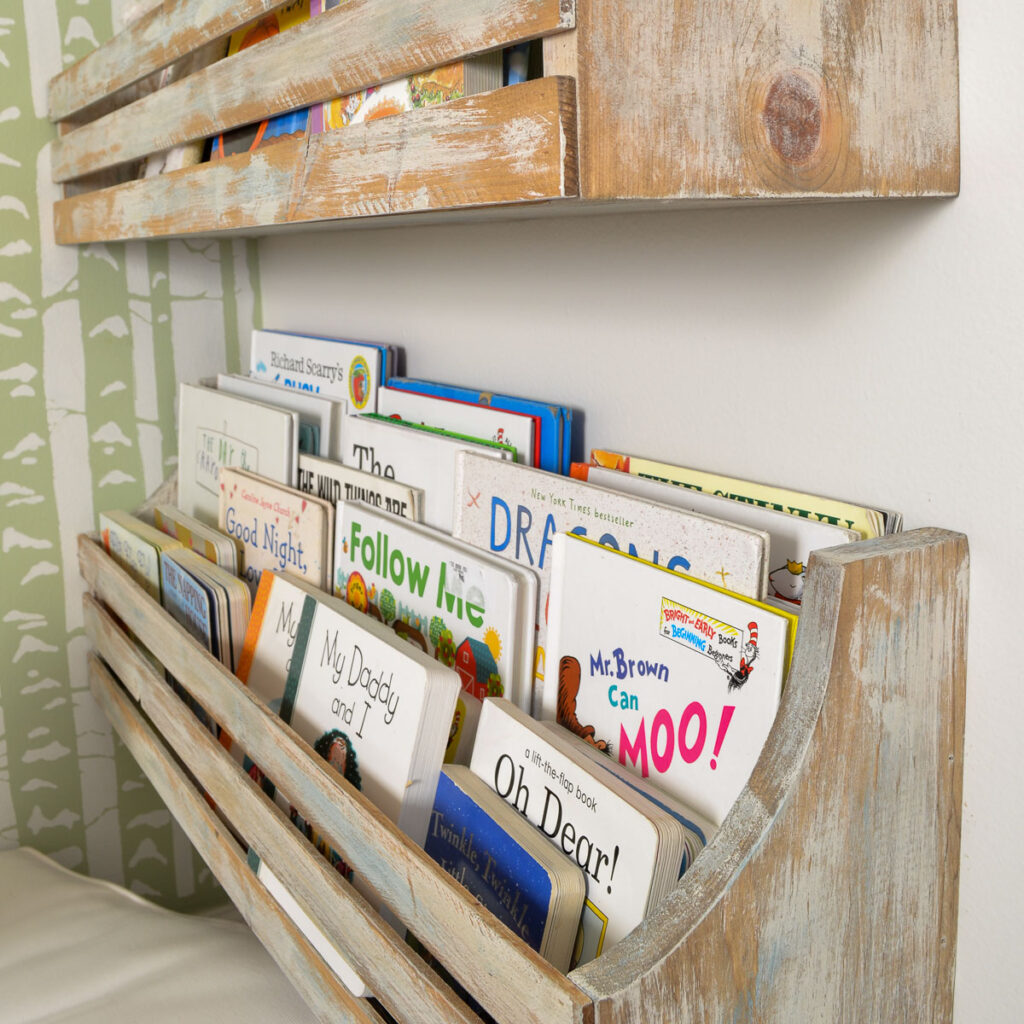
These hanging bookshelves are perfect for kids’ rooms because they can hold a ton of books at once without taking up any valuable floorspace.
I built these DIY wall mounted bookshelves for my daughters’ room makeover over ten years ago, and they are still holding strong and holding books!
Our house is overflowing with books, and sometimes it feels difficult to keep up with a storage solution for my kids’ overwhelming number of books.
When my oldest girls were young and our book collection was only beginning, we fit them all on a small bookshelf. That quickly became filled, and the kids never put away their books neatly and it became piles of books on shelves.

I decided to build a hanging bookshelf that my girls could reach but was also big enough for them to easily book their books away. I also wanted to hang them on the wall so the bookshelf didn’t take up floor space in their small room.
These DIY wall mounted bookshelves are large, sturdy and can be finished with stain or paint to match any room’s decor.
Supplies Needed to Build Hanging Bookshelf
- 1″ x 8″ x 8′ pine boards (I used one 8 foot board for each shelf, but depending on how long your bookshelf is, you may need more or less)
- lath strips or you could also use 1″ x 2″ boards
- air nailer with 1.5″ nails or hammer and trim nails
- compound miter saw or circular saw
- jigsaw (if you want a curved side)
- paint or stain
- 220 grit sandpaper
Steps to Build Wall Mounted Bookshelf
1. Cut boards for bookshelf
When using an 8″ board, you’ll only need to cut the lengths of the sides, back and bottom. No need to change the width of those 8″ boards for this easy build!
- Cut two rectangular boards for the side pieces of the bookshelf to the height you’d like the sides to be. (Mine measured 11″ tall.”)
- Cut two boards to the length that you want your bookshelf to be. These will be the bottom board and the back board of the bookshelf. (Mine measured 30″ long each.)
- Cut the 1×2″ boards (or lath strips) to equal the measurement of the length of the bottom/back boards, plus the width of both side pieces. (Mine measured 31.5″ long.)
For the sides of the bookshelf, I used a bowl to trace an arc and then used the jigsaw to cut out the shape. Alternatively, you can also just keep them as rectangles and start assembling the bookshelf.
2. Assemble the bookshelf
To assemble the bookshelf, use a Kreg Jig to drill pilot holes into the back of the back piece. Then, use wood glue to screw the back board into the bottom board.
You could also screw pilot holes and screws up through the bottom board and into the back board instead if you don’t want to use a Kreg Jig.
To attached the sides of the bookshelf, nail them to the bottom and back boards, using wood glue between the boards.
3. Finish the bookshelf with stain, paint or topcoat
It’s easier to paint or stain the wood before adding the wood strips to the front.
I chose to create a distressed look with some white and light blue paint using a dry brush technique, but the possibilities for finishing these shelves are endless.
After everything is dry, attach the finished front lath strips with nails and a little bit of glue.
How to Hang Bookshelves on the Wall
To install these hanging bookshelves on the wall, first locate your studs using a stud finder. Mark the studs with a light pencil mark.
Hold the shelves on the wall in the place you want to hang them and make a small mark on the top of the bookshelf at the spot where the studs fall. (You should make sure the bookshelf is installed over at least two studs.)
Drill pilot holes through the back board of the bookshelf at the places where you marked. Use wood screws screwed in from the front of the bookshelf to attach the shelf to the wall.
This project was part of a complete room overhaul where I took a small bedroom and transformed it into a shared bedroom space for my two girls. You can see the entire kids bedroom with loft bed here.
Post by Jenny Leads
Jenny is the voice behind Refresh Living. She has a passion for helping people to create a home they love without spending a lot of money.
great project and love that the kids can see the book titles, thanks for sharing on craft schooling Sunday!
Can you explain more on how you did the weathered paint technique? I love these by the way!!
Hi Emily. I’m sorry for the delay in responding to your comment. I basically used a dry brush technique. Dip just the tip of the brush in the paint, dab off the paint on a towel, and then lightly brush the paint over the surface in quick motions. I used a couple of different colors to get the affect you see on these bookshelves (I think it was a white, gray, and light turquoise, if I’m remembering correctly.) Happy creating!
I wish you sold these on Etsy!