Update an Old Countertop with Concrete
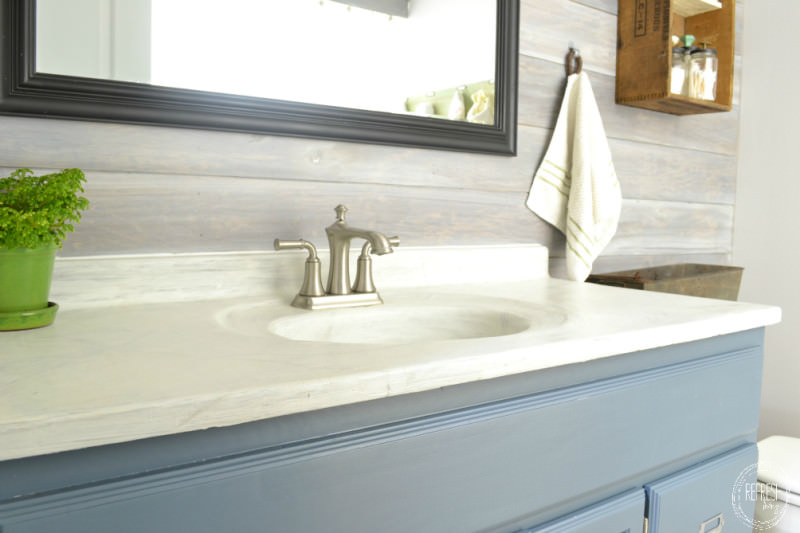

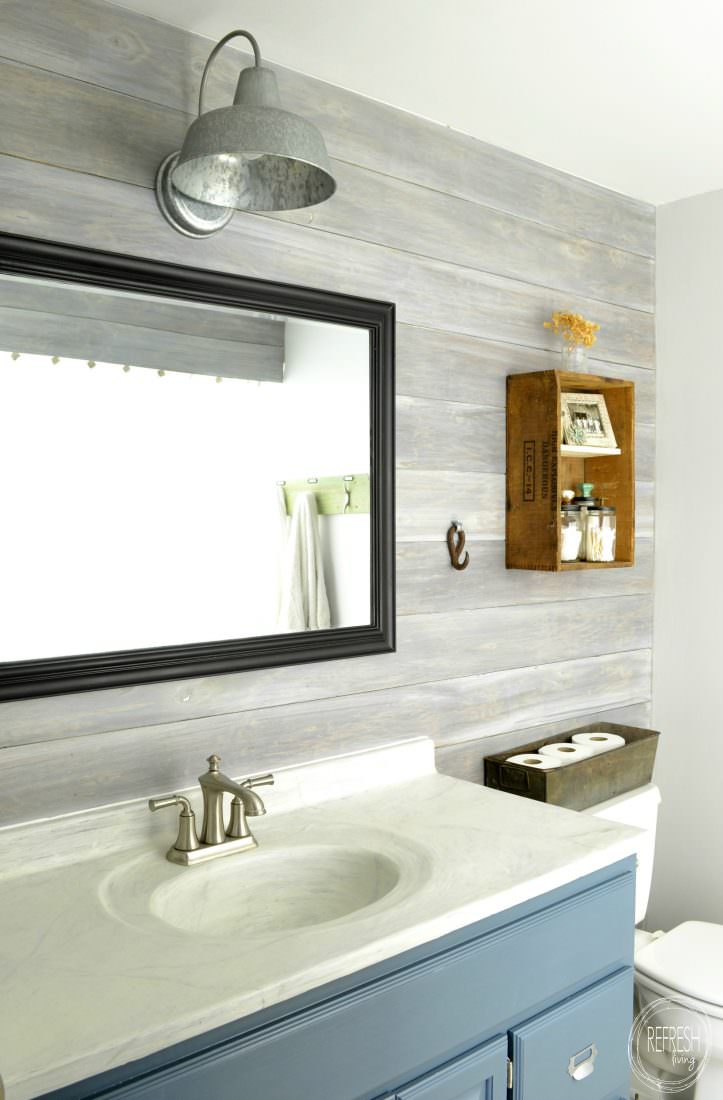
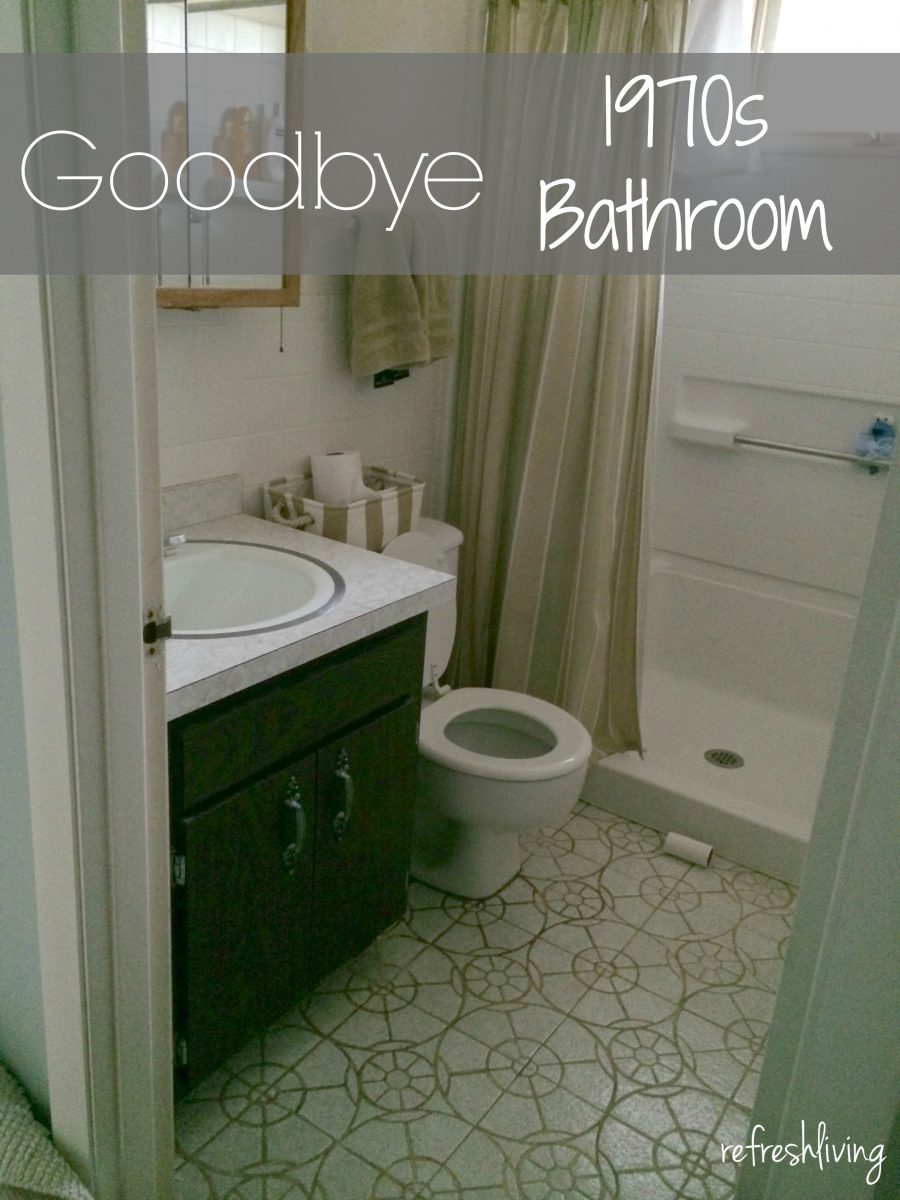
Our main bathroom needed help. It was one of the only rooms I hadn’t touched since moving into our house ten years ago, besides giving it a new coat of paint. It was about time to give it a face lift, which I did back in November, and now it looks like this!

The project I love the most in the space is my “new” countertop. To save money, I knew I needed to keep our vanity and top, but I hated the dark black, glossy surface.

It’s not granite, quartz, laminate, or solid surface. I actually don’t know what it is, except ugly and cheap looking.
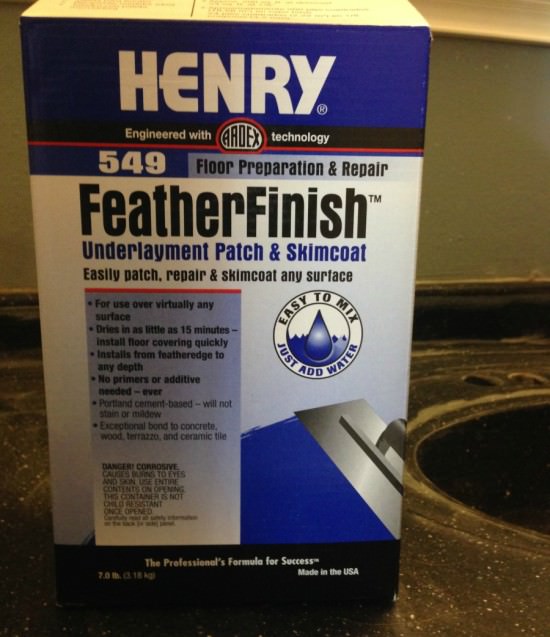
I decided to use concrete to give it a new look. I’ve seen a lot of different tutorials on this process using Ardex Feather Finish, but there is also a cheaper version of the same product called Henry Feather Finish.
Start by sanding the surface with 60-100 grit sandpaper. This scuffs up the surface so the concrete has something to grip to. I used my palm sander, and was finished in 3 minutes.
Start by mixing up a small batch of the concrete according to the directions on the package – 2 parts dry concrete to 1 part water. I mixed up my batches in smaller amounts with 2 cups concrete to 1 cup water in a drywall mixing tray.
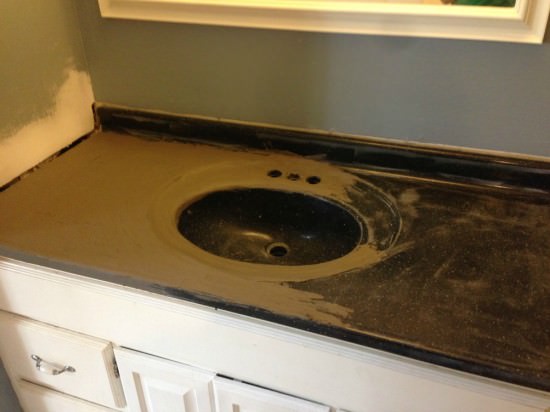
You’ll want to spread the layer on thin. Even if it seems like it’s not covering every part of the counter, that’s okay, as you’ll be adding 2 more layers after this one. After the first layer was applied and dried, I sanded it down by hand with 120 grit sandpaper. There’s no need to get it super smooth here, just sand down the larger ridges and bumps.
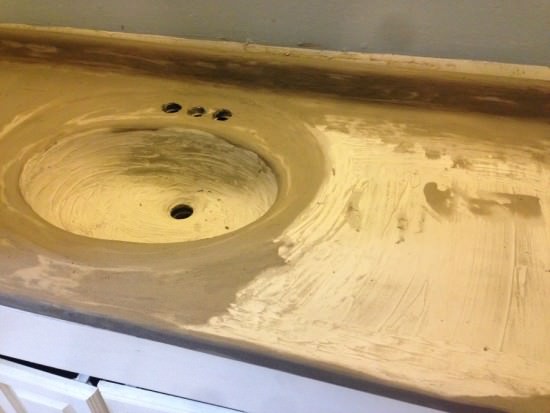
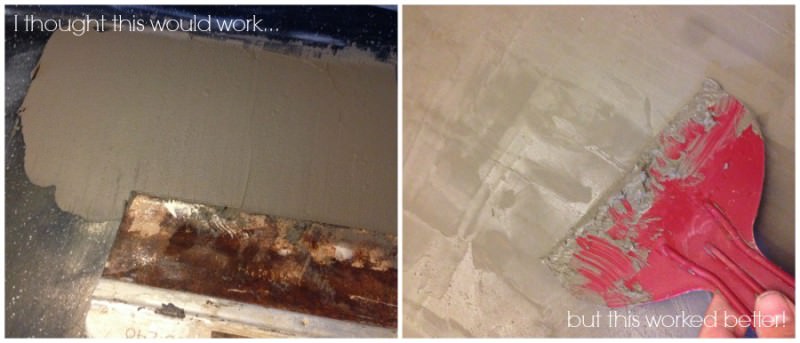
You’ll continue this process two more times, sanding between layers. Here are a couple of the tricks I learned along the way.
- If you’ve ever done drywall patching, the motion will feel very similar. It also reminded me of putting icing on a cake.
- I found my cheap plastic tools to work much better than my metal drywall tools.
- My hands and fingers were probably my best tool, and it was kinda fun to get messy in the process.
- My countertop has a curved back corner, so I found that running my finger in that groove (just like when you’re applying caulk) gave me a rounded “corner” and I didn’t need to mess with tools in that area.
- I hand sanded after the first layer, since it was so thin, and then used my orbital sander after the second and third layer.
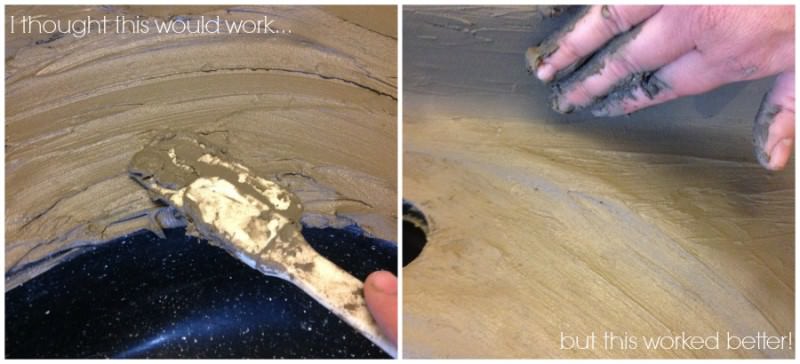
For inside of my sink, I found that nothing worked except running my fingers along the bowl to smooth it out. It reminded me of using a pottery wheel, and it was surprisingly therapeutic.
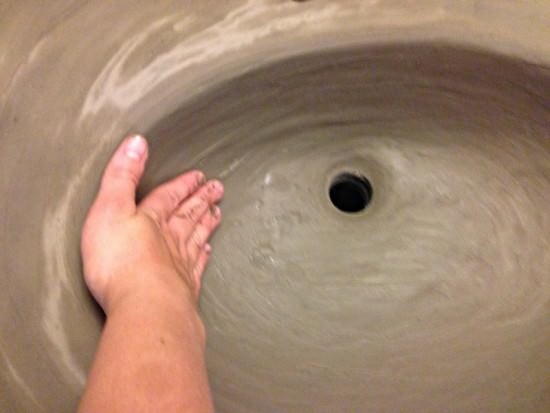
In the bottom of the sink were the drain sits in, I made sure to keep that concrete layer very thin and smooth. I wanted to be sure the drain fit in properly and there were no ridges. (When everything dries, be sure to use plumber’s putty when installing the drain, so it creates a water-tight seal.) We’ve had no problem with our drain leaking or any sort of other issues, and we’ve been using it for the past four months.
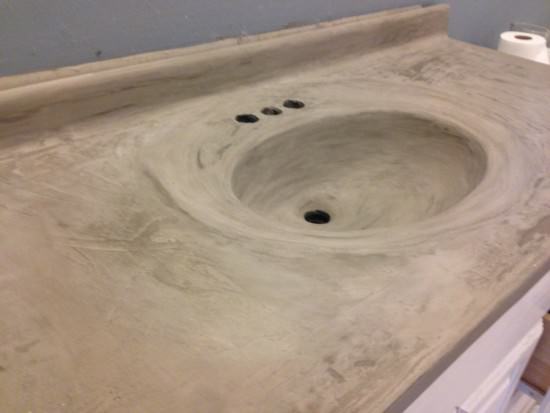
After the final layer dries, I would highly recommend using a power sander to get to a smooth finish. It will take you FOREVER to hand sand the whole thing. It still took quite a while to sand it with my orbital sander, and I even left some of the groove and ridges because I liked the look. When sanding along the edges, be careful with a power sander – it can easily take off the concrete down to the old counter on the corners or edges.
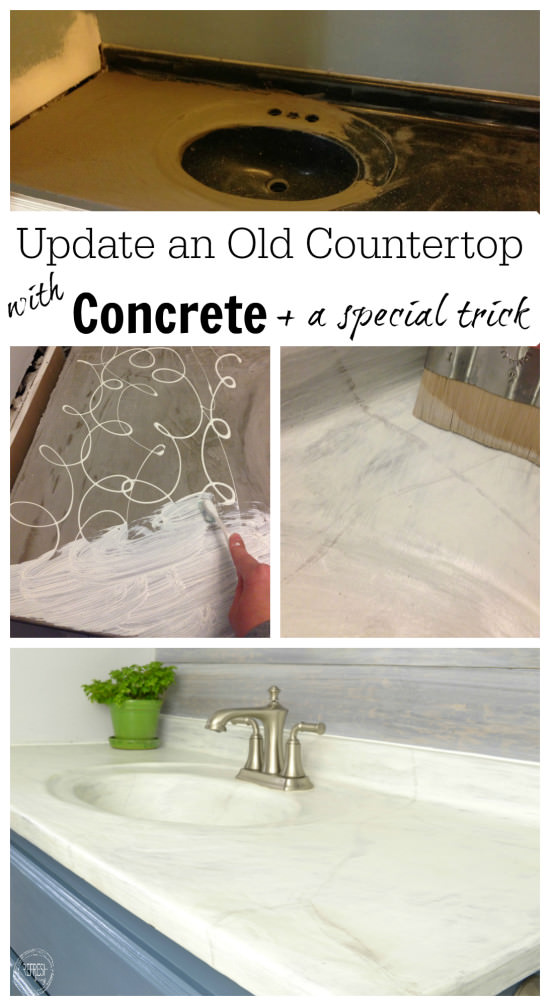
Obviously, I didn’t stop here with my counter top project. I have another post describing how I lightened it up and sealed it all to withstand water in the sink. Although this first part was fun, the second half of this tutorial was even more fun! Click on over to check it out: Creating a DIY Marble Countertop on a Budget
And here are the other projects from my bathroom remodel.
Like what you see? I’d love for you to follow along!
Facebook || Pinterest || Instagram || Google + || Bloglovin’

Post by Jenny Leads
Jenny is the voice behind Refresh Living. She has a passion for helping people to create a home they love without spending a lot of money.
