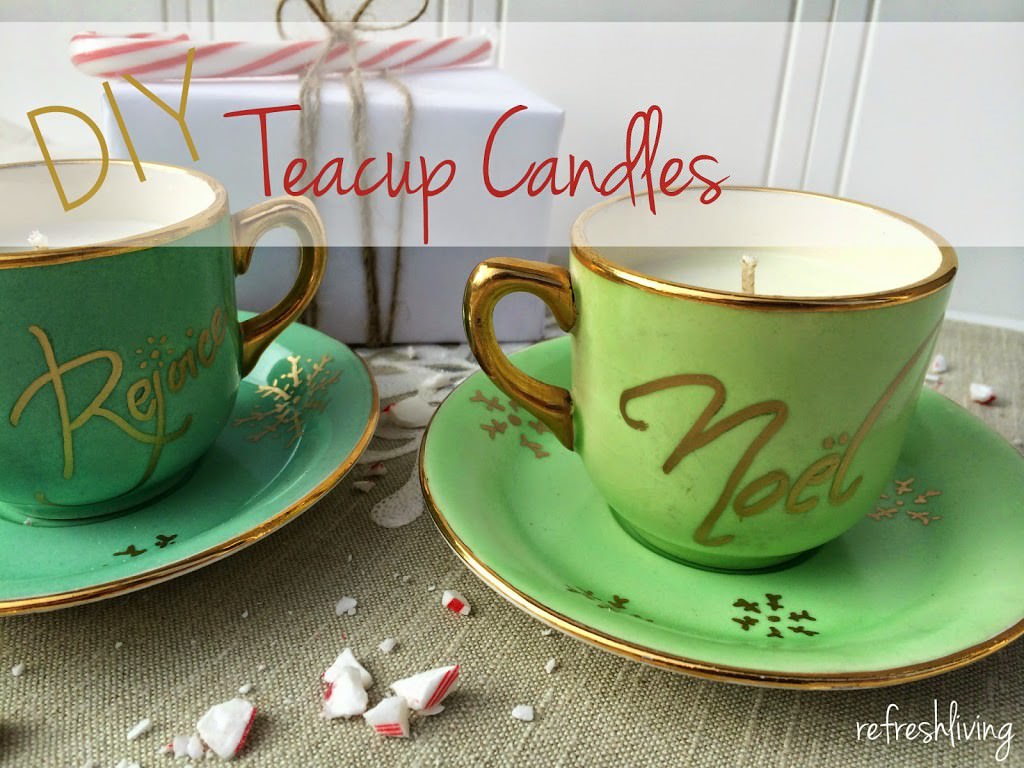
DIY Teacup Candles

‘Tis the season of giving and there’s nothing better than a handmade, homemade gift. These cute candles started off as adorable vintage teacups and saucers and are now one-of-a-kind pepperminty candles.

I found this set of six teacups at a thrift store in my neighborhood. The colors are so cheery as a set, but I thought that they could also easily be split up and look cute on their own as well.

This was my first attempt at making candles (besides the hand-dipped candles I made with students at our 5th grade colonial day every year) and I have a few tips that I learned along the way. All in all, I would feel comfortable giving these as a little gift, so I think that means they were a success! Here’s what I did to create these one-of-a-kind handmade gifts:
I preheated the oven to 200 degrees and filled each of the teacups with soy flakes. I added 1/2 of a teaspoon of peppermint essential oil to a few of them that I planned to give as gifts. The springier colors got lemon essential oil instead. It’s important to fill the cups all the way to the top with the soy flakes, because as they melt they condense. In my case, after they had melted, my teacups were less than halfway full, so I quickly took them out of the oven, added more soy flakes into each cup, and put them back in the oven.

I tried out wood wicks for these candles, and curled it over a metal skewer. Only later, when the candles were in the oven, did I realize this didn’t work. As it got hotter, the wicks started to become more flimsy, and they all fell in the wax. I switched out those cut wicks with some wicks that had the metal disc at the bottom. This worked great, but I think I could have also wrapped more of the wicks around the skewer and they would have held tight.
My candles melted in about 20 minutes, but it’s important to turn off the oven and let the candles sit inside once all the wax has melted. They should sit in the oven until it has completely cooled down. This prevents cracking in the candle wax.
I wanted to add an extra Christmas touch, so I printed some of my favorite words and used an easy image transfer technique to help me write the words on the teacups.

After printing the words or graphics, you just use a pencil to shade in the back of the word.

Then, place the paper on the surface and use the pencil to trace the word.

The pressure will transfer the pencil on the back to the surface.


Post by Jenny Leads
Jenny is the voice behind Refresh Living. She has a passion for helping people to create a home they love without spending a lot of money.
Thanks for the great tip for transferring the writing!
No problem! There’s a few other ways (like reversing the letters before you print, and then the ink just transfers when you trace over it), but sometimes I find it easier to just use pencil!
Yes that was awesome!!! Thanks!!
Thanks so much!
I adore those tea cups! This is probably the best handcrafted gift I’ve seen. Now I want to go to the thrift store!
Oh, thank you! That’s such a nice compliment! I know I personally would love to get these as a gift, which is always a good gauge on whether someone else might like it as well!
No worries about teacups cracking in heat?
I actually was a little worried about that, but I thought I would give it a try since I got them for so cheap. Baking at 200 degrees didn’t crack them, though!